It is always a challenge to balance work and family life with demanding hobbies/passions and sometimes some things just simply have to wait. This blog falls into that category. However, a number of things have been accomplished and I will update the blog over the coming weeks.
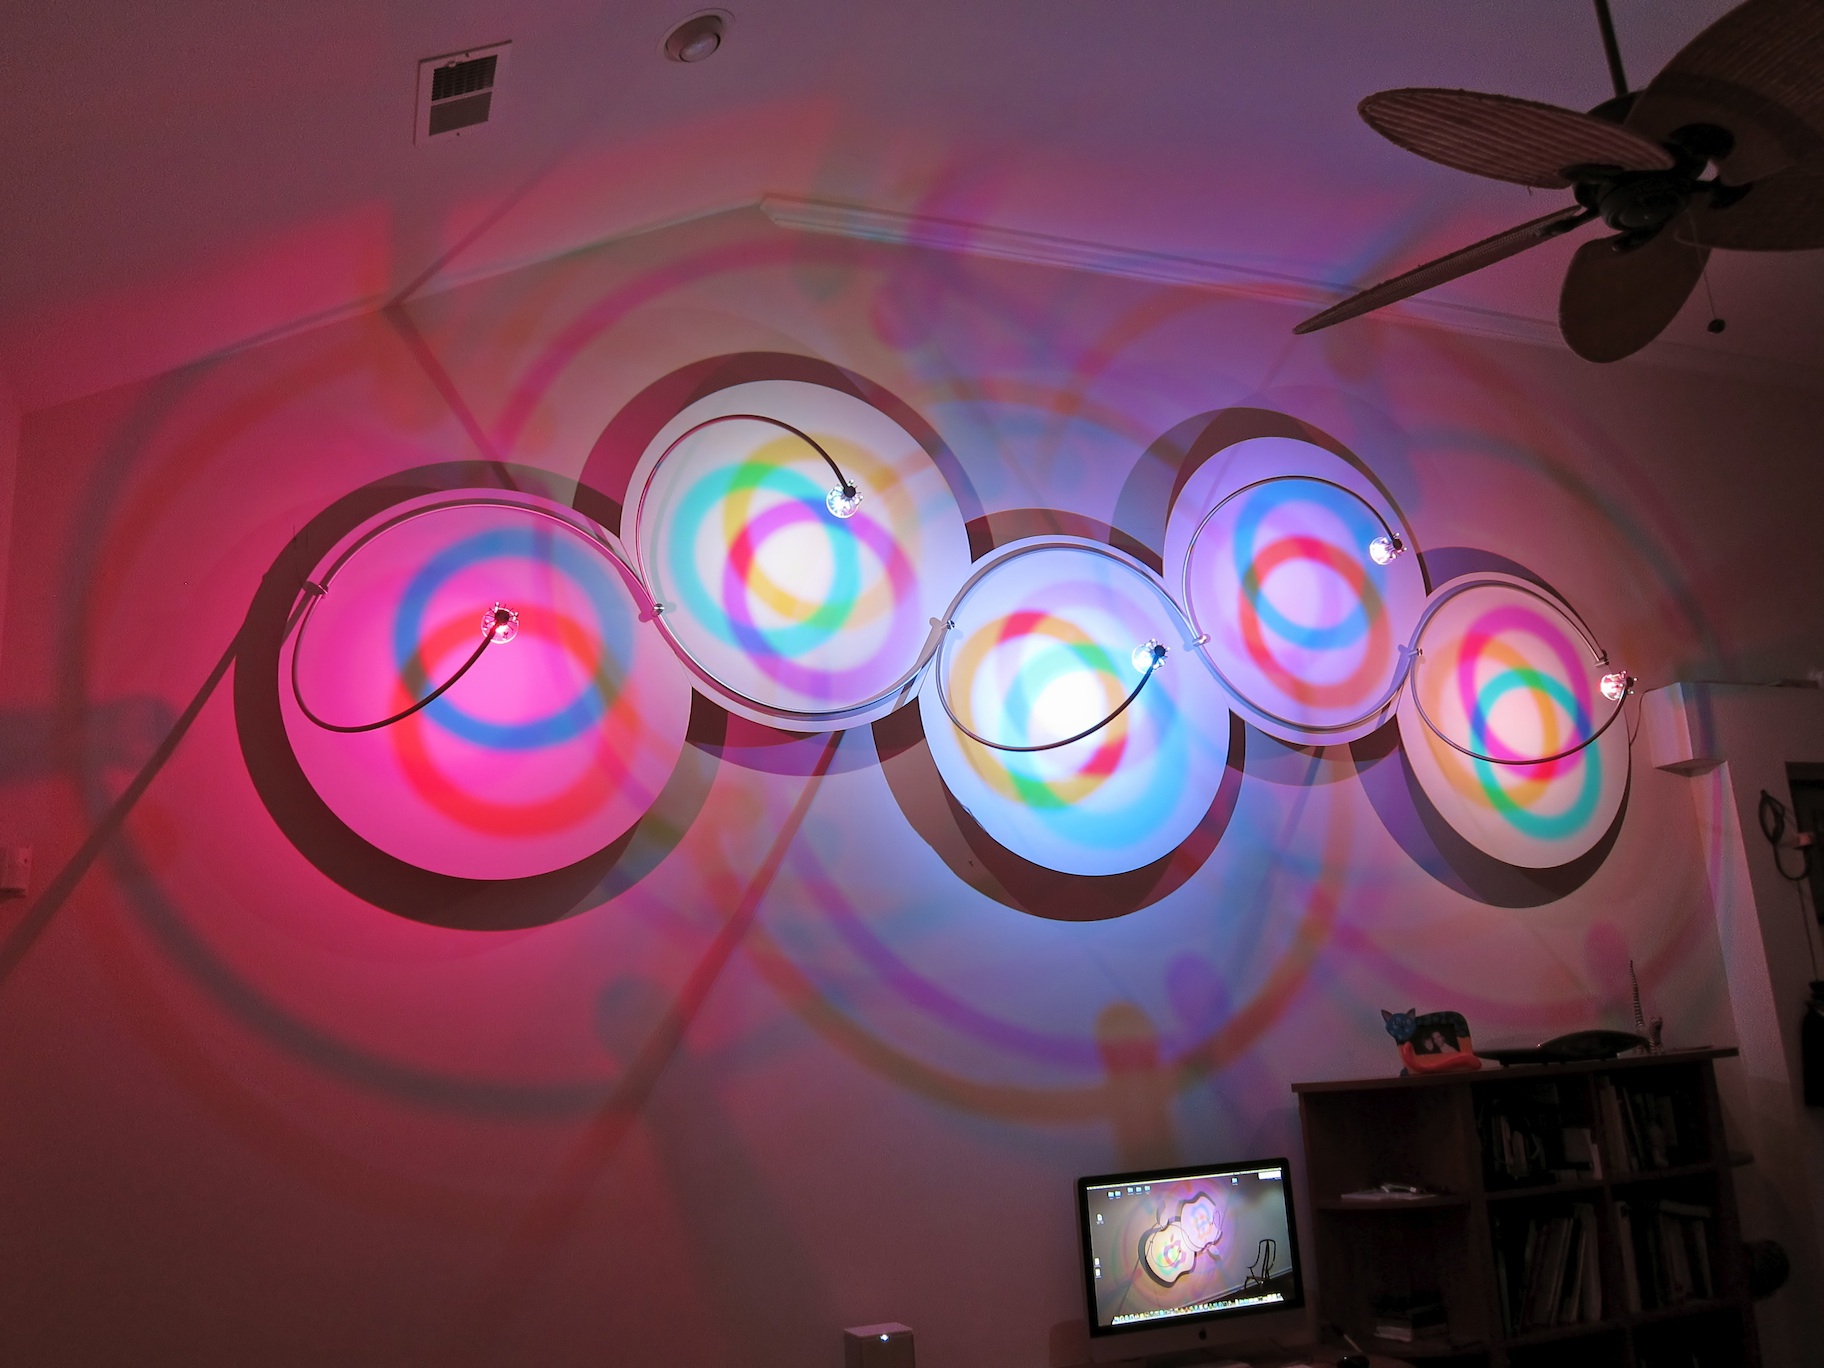
When I started this blog the lighting system in the first post was really just a feasibility study. Functioning, yet lacking in so many ways. While the visible mechanical part looks fairly finished most of the deficiencies were in the electronics and software that are hidden behind the system. A typical hacker project in an early prototype state. Nothing that one could repeatedly build with any confidence. However, over the past year I have significantly upgraded the electronics hardware and software. While doing so I have learned many things that would have been impossible without the existence of open source hardware and software tools.
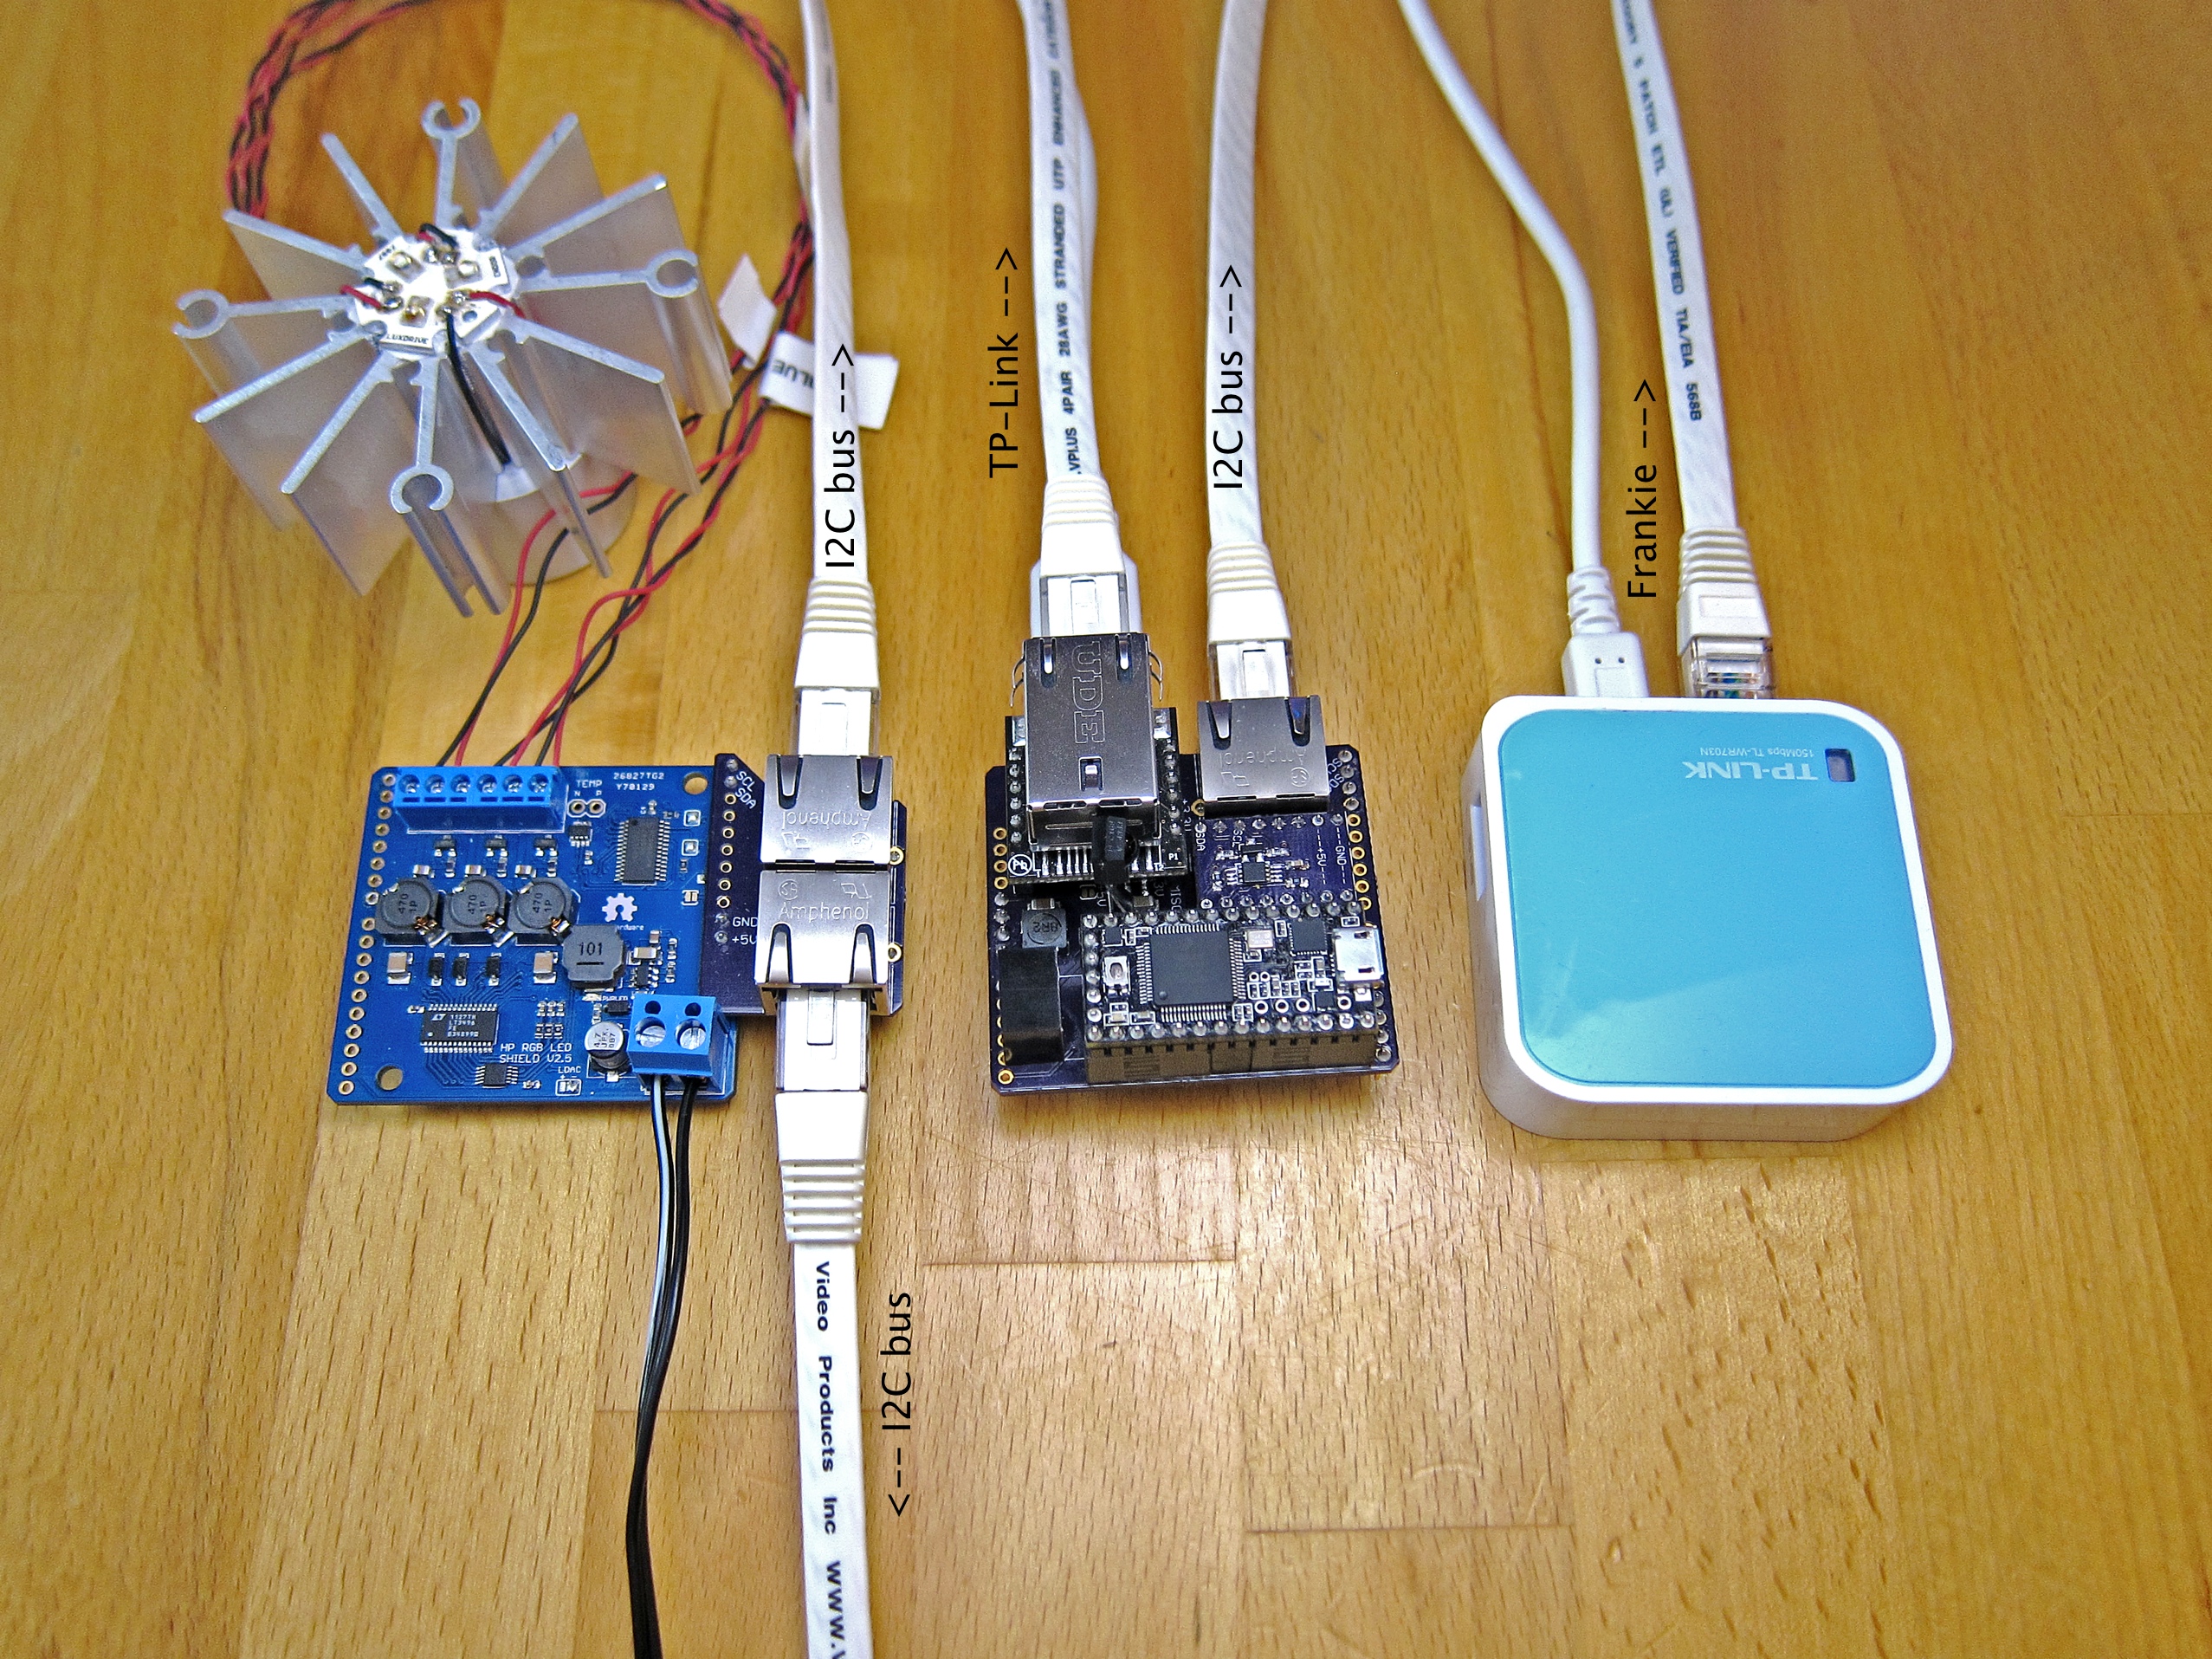
As many beginners do I initially used an Arduino Uno board and the Arduino IDE. However when trying to incorporate more software functionality into the project such as ZeroConf Networking/Bonjour functionality the memory of the Arduino became insufficient and I discovered the Teensy boards. At first the I used a Teensy++2 but a few months after I ordered it the Maker introduced a new Teensy 3 through a Kickstarter Project, which is now the basis for future lighting systems and other projects.
As the software became more involved I really had to brush up on my programming skills and needed to get a better understanding of the concept of object oriented programming and C++. The Arduino IDE also does not offer much functionality and I found the Eclipse Arduino IDE that allowed to program Arduino boards using the Eclipse IDE. At the time it did not accommodate the Teensy boards, so I contacted Paul Stoffregen the maker of the Teensy Boards and Jantje the Author of the Eclispe Arduino Plugin and asked if they could imagine getting the Teensy boards integrated into the Eclipse Arduino IDE. To my surprise both jumped at the opportunity and got to work instantly. Getting the Teensy++2 to work took them less than a Month, but the Teensy 3 was a hard nut to crack. Particularly as Jantje did not own one. I could not really contribute to the software effort other than beta testing but I had two Teensy 3 from the Kickstarter reward, so I sent Jantje one of them. After a few month the Teensy 3 and now also the Teensy 3.1 can be programmed using the Eclipse Arduino plugin and the new Eclipse Arduino IDE. The instructions of how to get that to work are here under the “Teesny, Arduino, etc.” tab.
As I had upgraded the hardware, the software itself also needed some upgrades to accommodate the new hardware. The Teensy 3 is fully Arduino compatible and worked right way, but my choice of Ethernet Hardware required some changes to the code. The original Ethernet Shield I used in conjunction with the Arduino Uno hosts a W5100 embedded Ethernet chip and is supported by the Arduino Ethernet library. However the WIZ820io, which is much more capable, much smaller and cheaper than the Ethernet Shield but uses the newer W5200 chip. This required a few changes to the Ethernet Library. Much more involved was getting the original EthernetBonjour library to work. It used direct access to the W5100 chip through the SPI library and it took a while to get it to work. It also duplicated some of the functionality of the Ethernet library. When the Teesnyduino Ethernet library was upgraded with code to automatically detect which Ethernet chip was used I would have had to adapt the EthernetBonjour library yet again. So I decided to completely overhaul the Ethernet Bonjour library and remove the immediate hardware dependance of it by removing all the direct hardware calls with calls from the EthernetUDP library. I hope that will eliminate the need for having to modify and adapt this library every time either the original Arduino Ethernet library or the Teensyduino Ethernet library undergo changes. It will also make it much, much easier to adapt it to use with new Ethernet hardware, e.g the CC3000 from Texas Instruments.
One of my goals was to be able to remote control the lighting systems from an iPhone. There were two promising iPhone applications available, Ardumote and TouchOSC. Ardumote allowed to send and receive simple commands through the UDP protocol. On my early Arduino Uno prototype using an Asyclabs WiShiled I also got this to work, however, it became clear that ArduMotes iPhone user interface while visually very attractive would not allow me to create the functionality I had in mind. So I investigated how to get this to work with TouchOSC. The first obstacle was the library that shipped with the Asynclabs WiShield as it was difficult to work with. The only Arduino library that I could find for OSC was Recotana’s ArdOSC. Unfortunately this Library depended on the Ethernet Library, which in turn required the Ethernet Shield. No WiFi. Bummer! It took several month and a lucky find of a youtube video that demonstrated Arduino WiFi functionality by means of a small Pocket WiFi router connected to the Ethernet Shield. Still today I believe this is the best and most reliable way to get WiFi to work on an Arduino. It is really dead simple! This allowed me to use ArdOSC and with some programming effort I was able to remotely control the system through TouchOSC from my Phone via WiFi.
ArdOSC is not maintained anymore but in the meantime the inventors of the OSC protocol at CNMAT have released their own Arduino OSC library called OSCuino. I have replaced ArdOSC with OSCuino in my projects and hope to post a tutorial in the coming weeks on how to get that to work with TouchOSC. The idea is to develop a little demo application that will use Bonjour and OSC in conjunction with TouchOSC. I just have to figure out how to format/post code on WordPress.com  One would assume that that would be natively supported through a plugin by such a popular blogging platform but I find the editor disappointingly rudimentary!!!